Showing posts with label tutorial. Show all posts

Wednesday, March 11, 2009

Felt Flowers

I have been crazy about FELT lately! Crazy! I love creating different little embellishments with it. Everyone who purchased a March Moments to Remember kit received 2 little button posies that I made out of felt. I had so much fun making them. So much fun that I decided to see what else I could make! Buying embellishments in the store can get so pricey, but if you take the time you can make a lot of the same things at home!

This month I am going to show you how to make some really cute felt flowers. It's super easy and requires very little supplies. I actually found a tutorial on this on YouTube. If I can find the link again I will post it for you later.

Supplies:
Felt
Scissors
Needle/Thread
Small embellishment---jewel, brad, button

Let's get started!

Step 1: Gather your supplies
Image

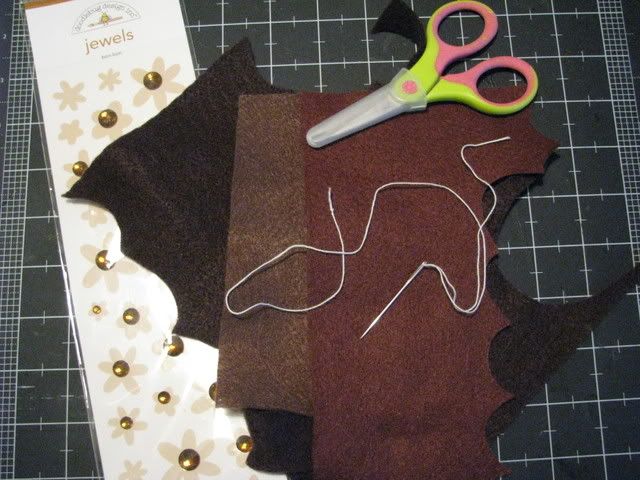
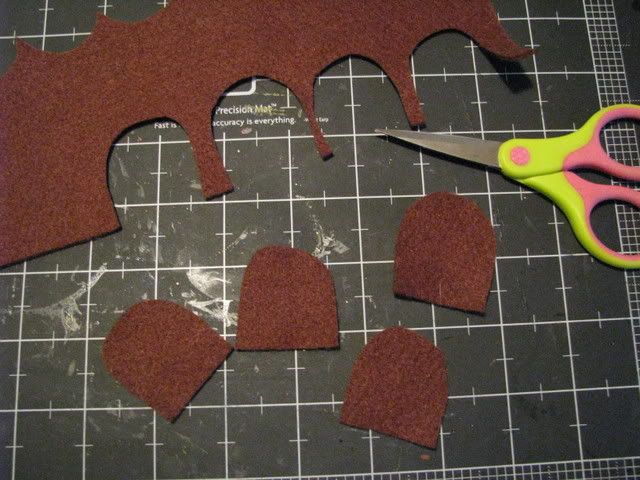
Step 2: Cut 4 "U" shape pieces from the felt (you can just freehand this--it doesn't have to be perfect). The larger the pieces, the larger the flower.
Image

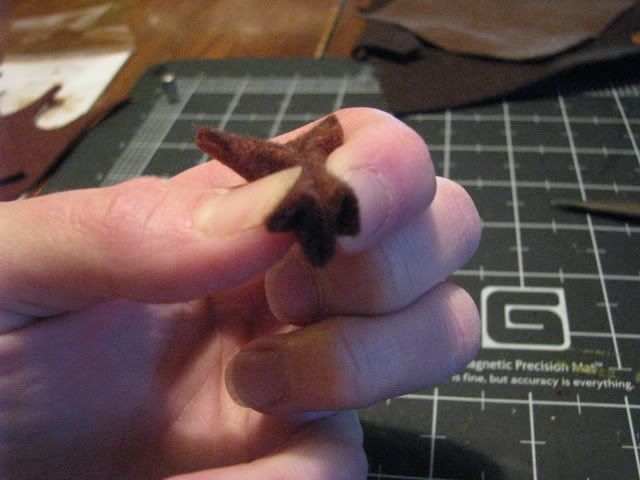
Step 3: Fold your petal in half.
Image

Step 4: Fold each side down one more time (see picture, not sure how to describe this).
Image

Step 5: Using your needle and thread, sewing through each fold.
Image

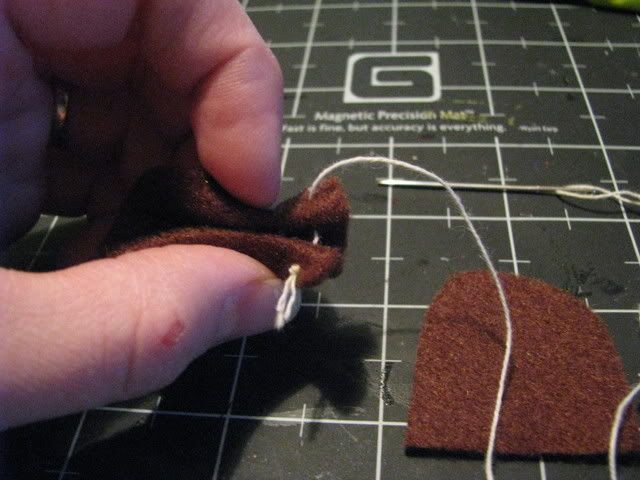
Step 6: Repeat steps 3, 4, & 5 for all pedals. Do not cut your thread, just sew it to the previous pedal.
Image

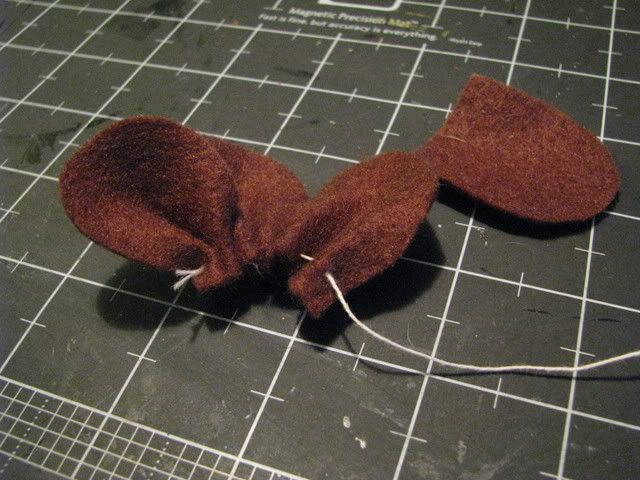
Step 7: Tie a knot in your thread and cut.
Image

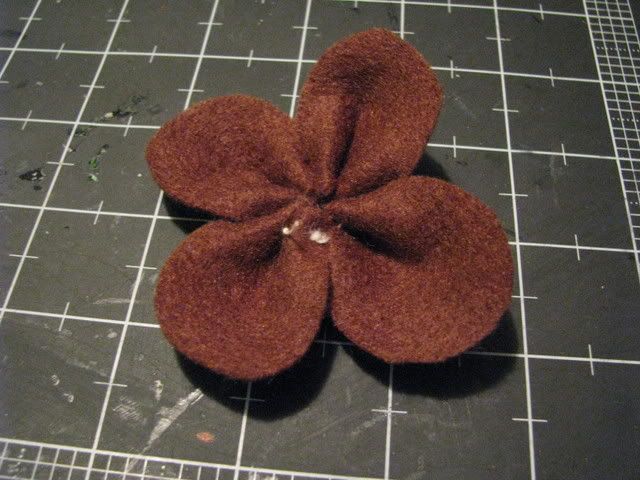
Step 8: Turn pedal over so you don't see your stitching and place a small embellishment in the center.
Image

That's it!!! Now you have a cute little (or big depending on what you created) flower that looks just like you bought it in the store. I can't wait to make some more!!!!!! :D :D :D

Wednesday, December 3, 2008

Felt Christmas Tree Card

Time for a quick and easy tutorial!!! I'm going to show you how to make a quick, easy, and cute felt Christmas tree card.


Here's what you will need:
Cardstock card & envelope
Green Felt

Scrap patterned paper
Stickles

Embellishments

Step 1: Gather your supplies.

Step 2: Cut 3 triangles from the green felt. Don't worry about making them perfect.

Step 3: Add Stickles around the edges of the felt triangles and set aside to dry.

Step 4: Cut patterned paper to fit front side of card, flap of envelope, and inside of envelope. Distress paper if you would like. Adhere to card and envelope.

Step 5: Once Stickles are dry, adhere felt pieces to front of card to resemble a tree.

Step 6: Add embellishments to your liking.


Friday, October 24, 2008

Altered Magnet

This past weekend I hosted a Altered Magnet Challenge during the Moments to Remember Fall Crop. This is a super easy and fun way to alter some of your "where did I get that" magnets on your fridge. Here's how:

Step 1: Gather your supplies
-magnet---any size
-patterned paper scraps
-Chipboard--any shape
-paint
-adhesive
-ink
-embellishments
Step 2: Cut patterned paper to cover magnet. Glue to magnet.

Step 3: Distress edges with ink.
Step 4: Paint chipboard.
Step 5: Glue chipboard to magnet.
Step 6: Embellish.
Step 7: DONE!!!!